Remote Kubernetes Development in Visual Studio Code with Okteto
The Visual Studio Code Remote Development Extension Pack lets you use a container or a virtual machine as your development environment while keeping the full Visual Studio Code experience, including its features and extensions. You launch a reproducible, isolated development environment with a single command.
The extension pack connects over SSH but doesn't launch environments in Kubernetes on its own. The Remote - Kubernetes extension adds that support: it launches a Development Environment in your Kubernetes cluster with Okteto and connects Visual Studio Code to it over SSH. Install it to develop in Kubernetes directly from Visual Studio Code.
Getting started
This tutorial walks you through creating and connecting to a Development Environment in Kubernetes using Okteto's Remote - Kubernetes extension. You run a Go application and edit and debug it directly from Visual Studio Code, just as you do locally.
Prerequisites
To get started, you'll need to:
- Install (or upgrade to) Visual Studio Code 1.109 or newer.
- Install the Remote - Development extension.
- Install Okteto CLI 3.19.0 or newer.
- Have access to a Kubernetes cluster.
You can deploy to your own Kubernetes cluster or sign up for a free Okteto account to follow along.
Install the extension
You can install the Remote - Kubernetes extension from the marketplace, or directly from Visual Studio Code's extension sidebar.
Once installed, the extension will add the following commands to the command palette:
Okteto: UpOkteto: DownOkteto: DeployOkteto: DestroyOkteto: Test
Get the sample application
For the purpose of this post, we'll be using a Go application. You can clone it locally by running the command below.
git clone https://github.com/okteto/vscode-remote-go.git
Start Visual Studio Code, and open the application's folder.
Launch your development environment
Open the command palette in Visual Studio Code and type Okteto:
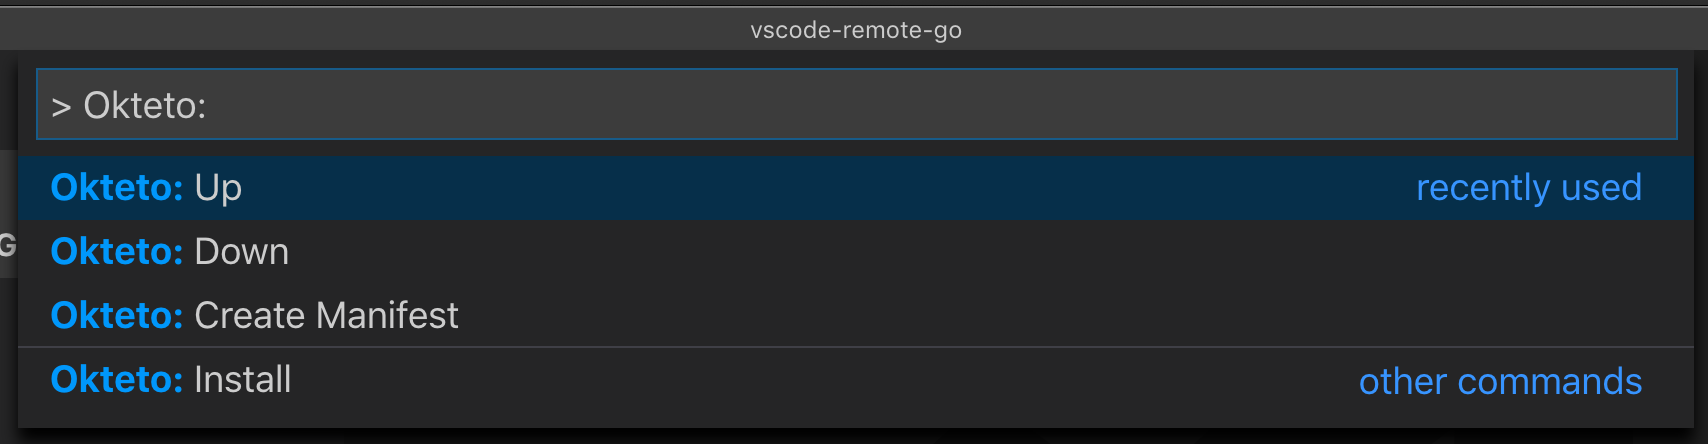
Choose the Okteto: Up command, and select the vscode-remote-go/okteto.yml manifest.

The
okteto.ymlmanifest tells the extension which image to use for development, the application ports to forward to your local machine, and the working directory of your remote development environment, among many other options.
Once your development environment is provisioned, the extension will launch a pop-up asking you to pick a host. Choose the hello-world.okteto host.
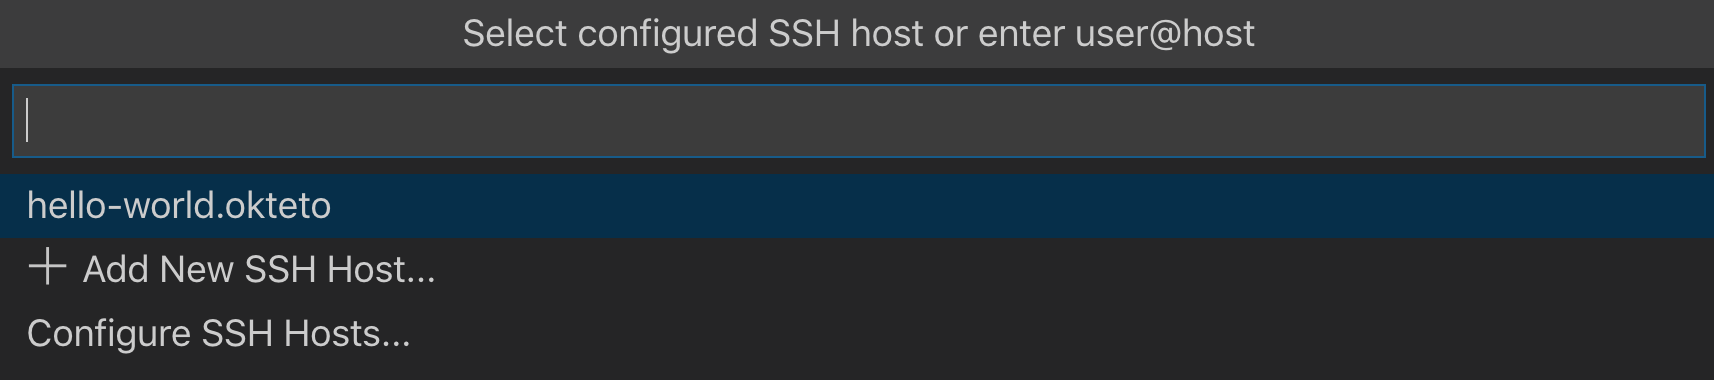
After a few seconds, VS Code will connect over SSH and configure itself.
Congratulations, you are now working on your remote development environment in Kubernetes! From this point onward, any actions you perform will happen directly in your Kubernetes development environment.
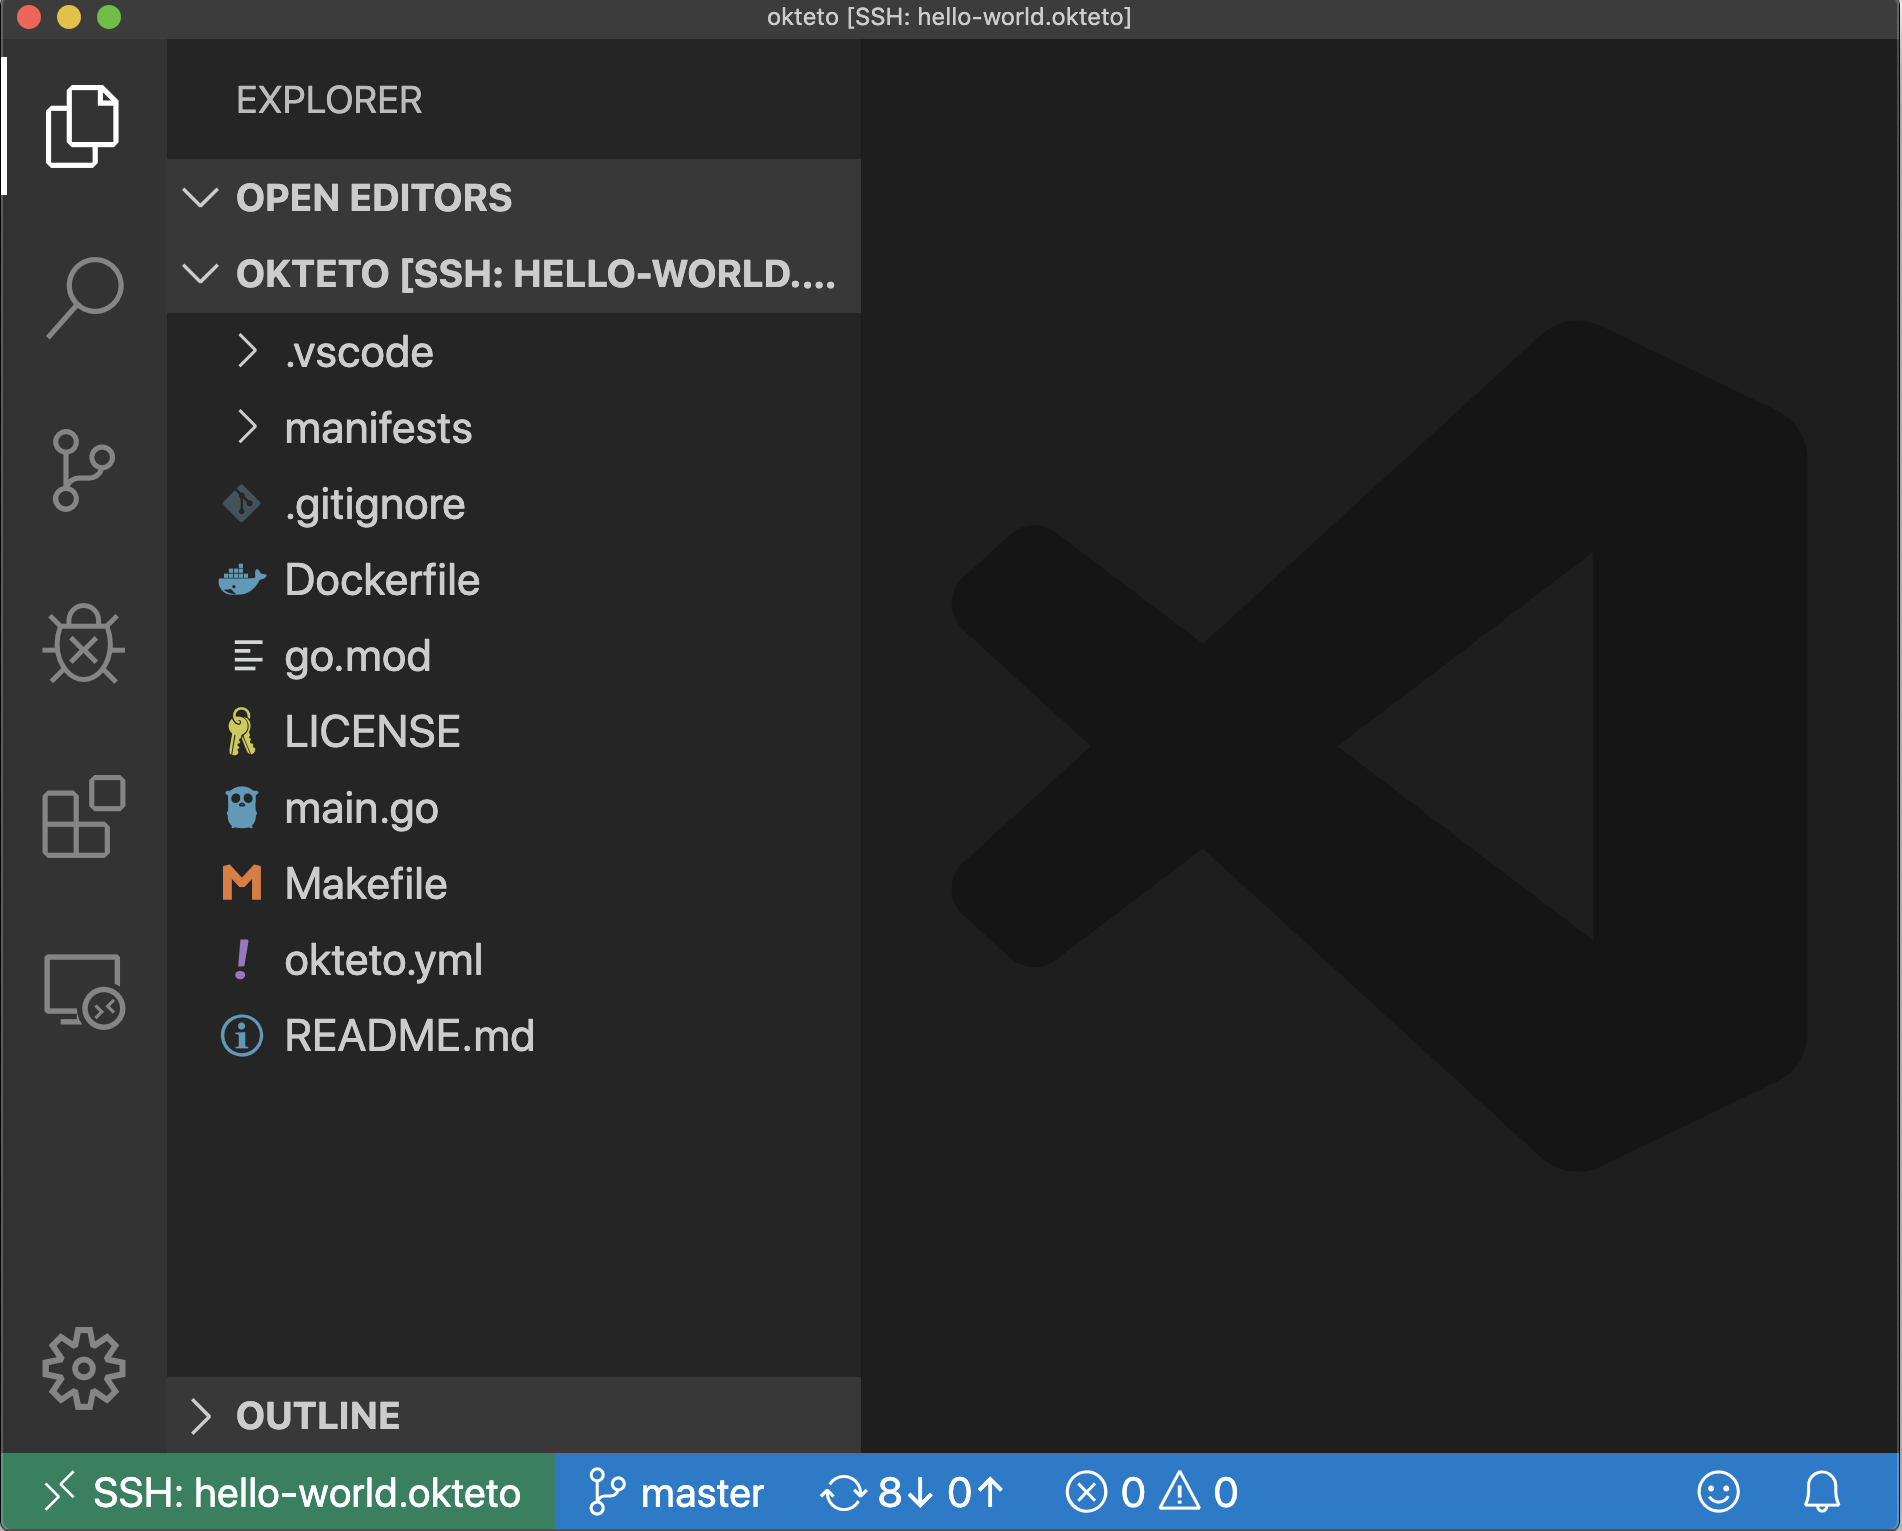
The
Okteto: Upcommand launches a development environment in your Kubernetes cluster using the image defined inokteto.yml. It will automatically inject an SSH server into the pod and update your local.ssh/configto integrate with Visual Studio Code's remote features.
Remote development
The main benefit of using remote development environments is that you can configure them with the specific dependencies that your application needs without messing up your local environment. In this case, the environment already has Go installed. You can check by opening a new terminal Terminal > New Terminal (⌃⇧) and running the following command:
okteto> go version
go version go1.25.4 linux/amd64
First, install the Go extension in your remote environment. Once the extension is installed, press on the reload button to restart the remote Visual Studio Code instance and load the Go extension.This only needs to be done once, since the extensions will be stored in a persistent volume in Kubernetes.
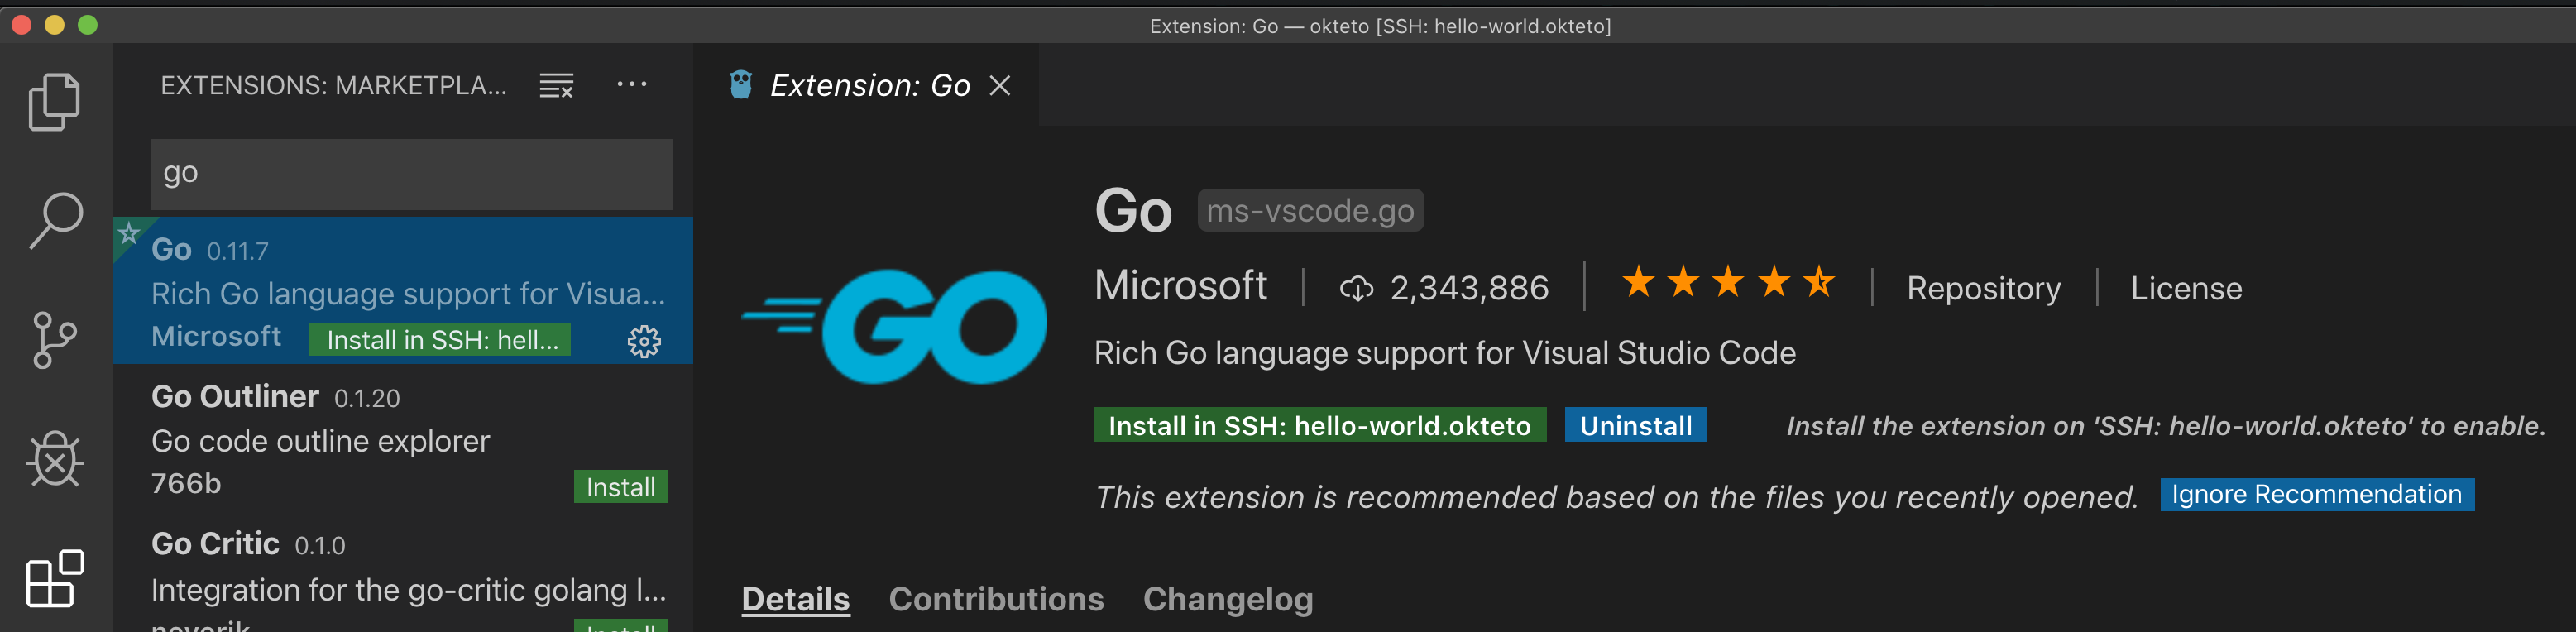
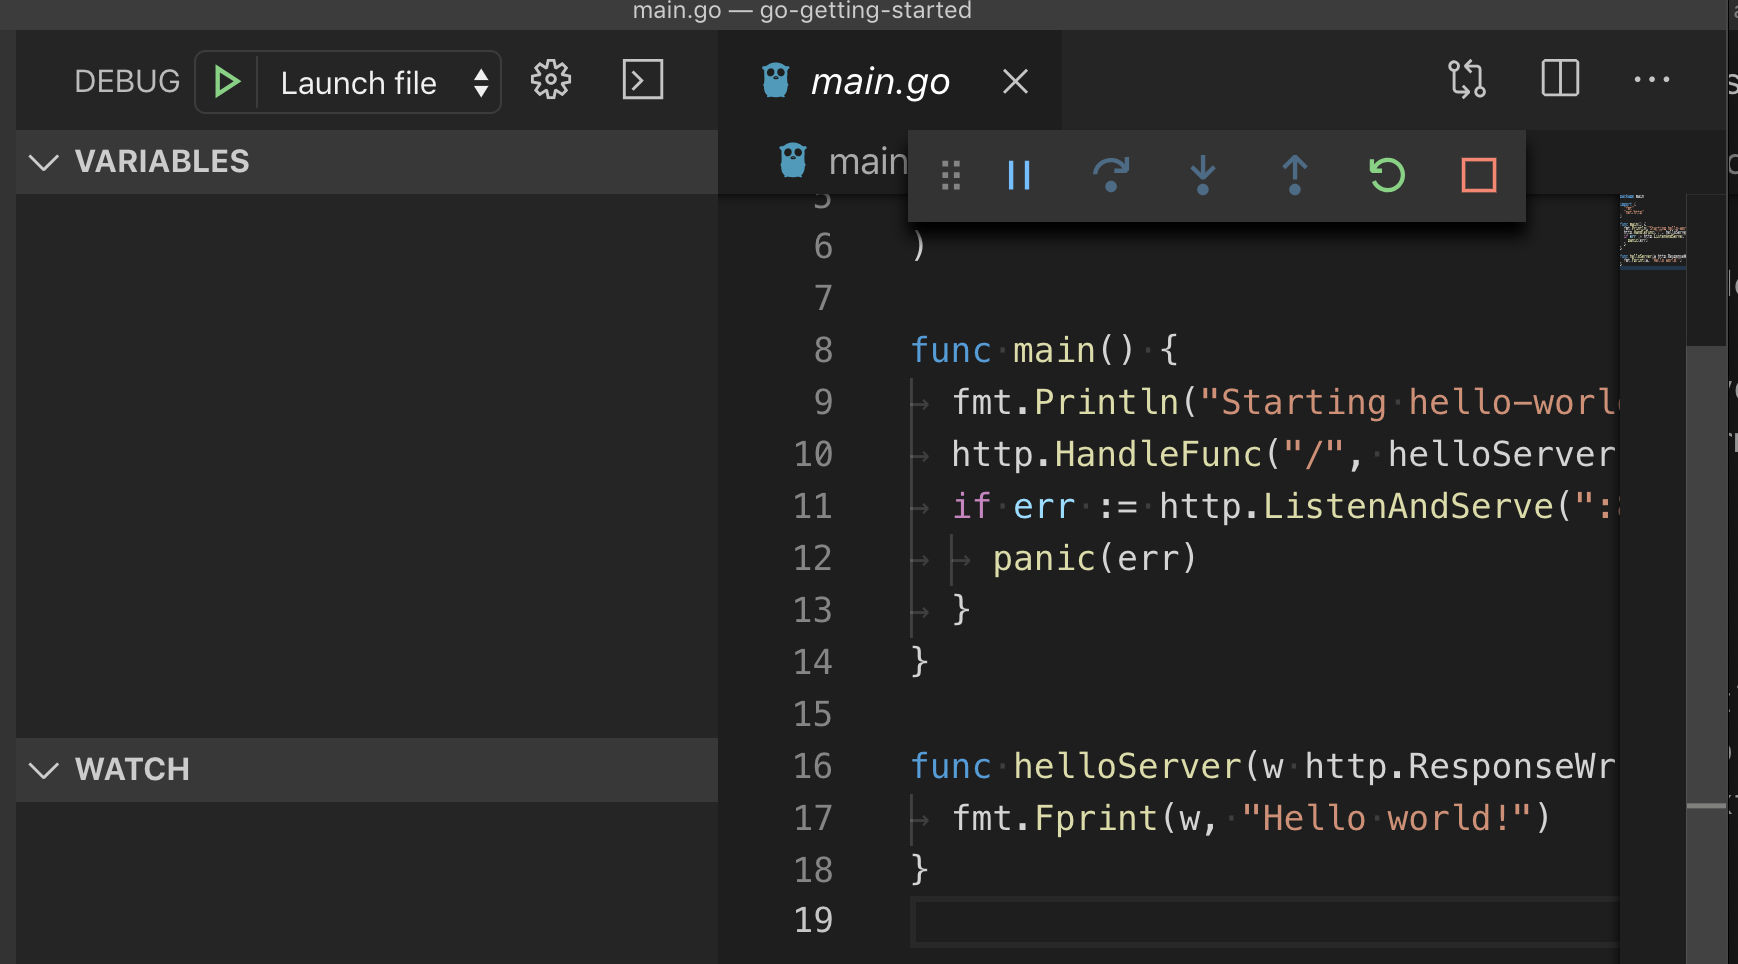
Now let's start the application. PressF5 (or Debug > Start Debugging) to start the application directly in your development environment.
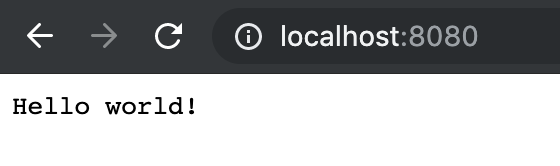
Once the process starts open your browser and navigate to http://localhost:8080 to access the application. You can access it via localhost because the extension is forwarding port 8080 to your local machine.
Debug directly in Kubernetes
One of the coolest things about Visual Studio Code's remote extensions, is that you can use all the tools you're used to directly in your remote development environment, like a linter, or your debugger.
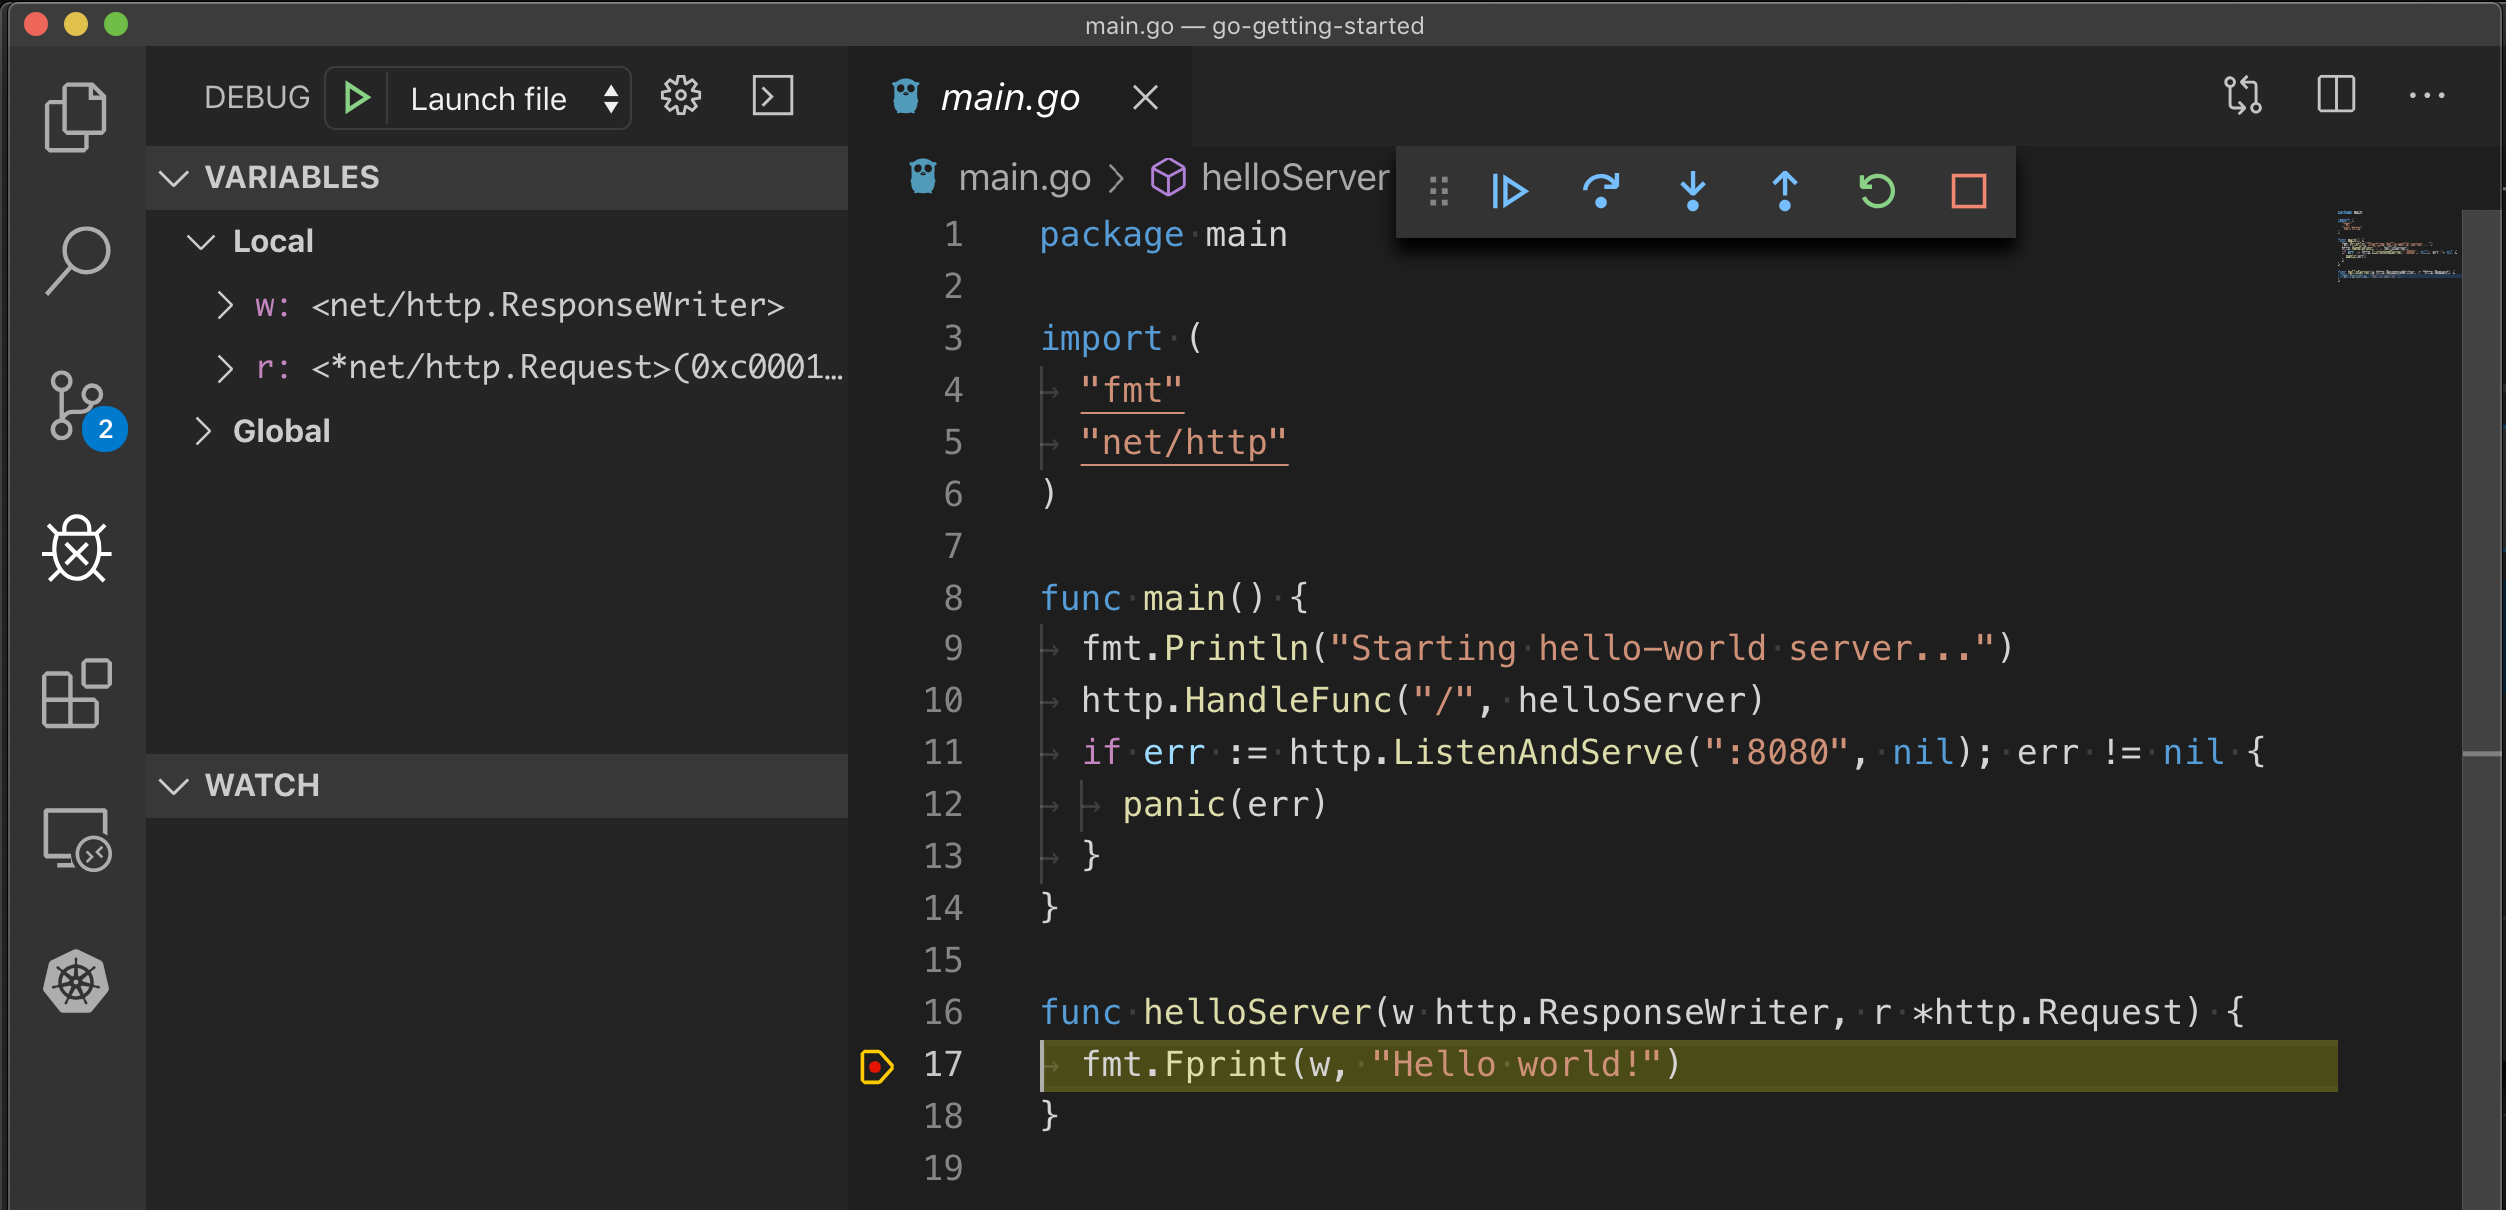
Starting the application via F5 already started the debugger. Open main.go and add a break point on line 17. Go back to your browser, and reload the request. The execution will halt at your breakpoint. You can then inspect the request, the available variables, etc. Aww yeah 🥳!
Shutting it down
Once you're done developing, close the remote instance of Visual Studio Code and run the Okteto: Down command. This will delete the development environment. But don't worry, all your configurations and extensions are persisted in the cluster.
Conclusions
The Remote - Kubernetes extension lets you launch replicable development environments directly in Kubernetes, with the extra benefit that you can keep using all the Visual Studio Code extensions. With this, you don't have to spend time installing dependencies, or configuring your environment. Open Visual Studio Code, run Okteto: Up and you'll be ready to develop in seconds!
The sample application used in this tutorial is already configured to work with Okteto and the Remote - Kubernetes extension. To use your own application, run okteto init to generate your Okteto Manifest, then run Okteto: Up to launch your Development Environment. Commit the okteto.yaml file to your repository so your collaborators can launch their own Development Environments directly in Kubernetes.
To report issues or request features for the extension, visit the Remote - Kubernetes GitHub repository.